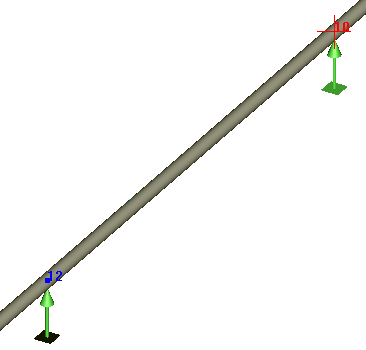
Insert nodes at intermediate points along existing pipe elements or bends. Example: inserting a node along element 10-12:

Click the  toolbar icon. Click the desired location
along element 10-12. The insert
node dialog appears:

In "Distance from node", select the reference node and specify the distance for the new node location. Enter the new node number in "New node name". Click OK to create the node and split the element.

For buried elements, node soil height interpolates linearly from element end nodes. Same applies to subsidence and water height. More...

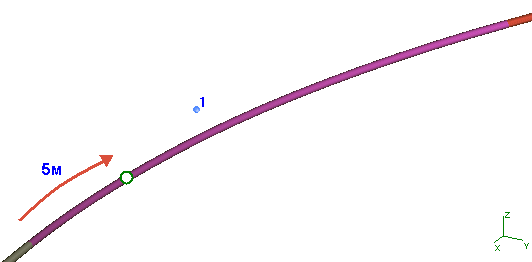
Click the  toolbar icon. Click the desired location
along the bend (top - node 1). The
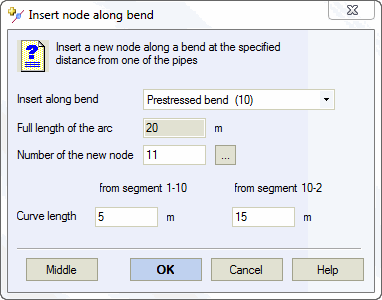
insert node dialog appears:

In "Distance from node", select the reference node and specify the distance from the element end (intersection point with bend curve). Enter the new node number in "New node name". Click OK to create the node and split the bend into two separate bends with individual apex nodes (1 and 5).

Inserted node 4 can be moved or deleted. Deletion rejoins the split elements.
Property |
Description |
Element length |
Total element length between end nodes |
New node number |
New
node identifier. Auto-assign
by clicking |
Distance |
Distance from selected element node to insertion point |
Projections |
For spatially oriented elements, specify distance as coordinate projections from reference node |
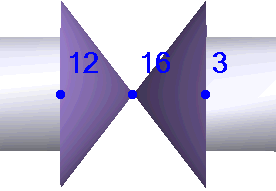
Click the  toolbar icon. Click the element (valve,
flange, reducer, tee, etc.) to add nodes at element edges.

Used for disconnected pipeline systems. Specify coordinates for the new node location.
Coordinates can be absolute or relative to existing nodes.

Independent nodes automatically become base nodes.
Tools > Insert Node
Tools > Insert Independent Node
