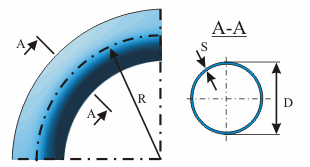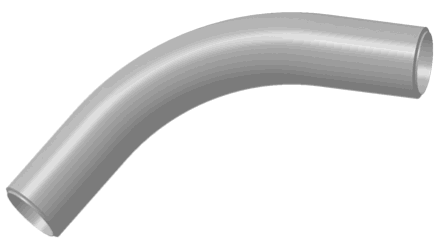


A pipe bend manufactured using induction bending technology, which applies bending force to locally heated material. Cold bending methods are also supported. ASME and EN codes treat forged elbows, induction bends, and welding elbows identically for stress analysis purposes.
The central bend angle must not exceed 90 degrees (More...).
PASS/START-PROF performs wall thickness checks for pipe bends according to the selected design code. For ASME codes:


Property |
Description |
Name |
Unique element identifier. When checked, the element displays in the 3D view. |
SIF |
Click to view stress intensification factors (SIF), flexibility factors (k), and h-factor values for the bend. |
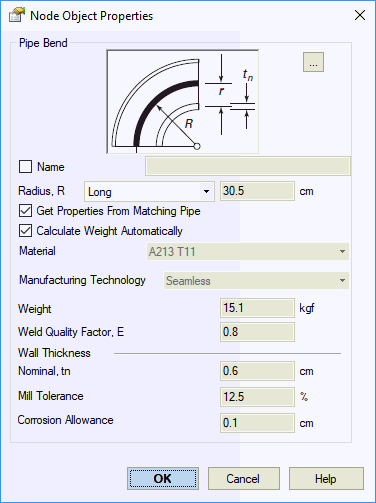
Radius, R |
Average bend radius (0.5D < R < 10D). Typical values: long radius - 1.5D, short radius - 1.0D. |
Get properties from matching pipe |
Import material and dimensional properties from the connected pipe element. |
Calculate weight automatically |
When selected, the bend weight calculates automatically based on torus sector volume using the wall thickness of adjacent pipes. |
Weight |
Bend weight (including flanges), excluding insulation and fluid content. Set according to standards without overload factors. Fluid and insulation weights with appropriate overload factors calculate automatically from adjacent pipes. |
Longitudinal Weld Joint Efficiency Factor, E |
Longitudinal weld joint efficiency factor. More... |
Manufacturing technology |
For ASME B31.1, ASME B31.3, and DL/T 5366-2014, seamless pipe uses Wl=1.0. Electric-welded pipe values import from the material database. More... When using GOST 32388-2013, material properties import from different databases depending on pipe type (seamless or welded). |
Calculate angle automatically |
The bend angle used in flexibility factor (k-factor) calculations for some codes. Enable by default. Disable this option when modeling supports on a bend that has been split into multiple segments. Specify the full bend angle, not individual segment angles. |
Angle |
|
Material |
Material selection from the materials database |
Nominal wall thickness, S |
Nominal (as-built) wall thickness |
Mill tolerance, С1 |
Manufacturing tolerance at production.
More... |
Corrosion and wear allowance, С2 |
Additional wall thickness allowance for corrosion and erosion. More... |
Do not check internal bend wall thickness |
Per RD 10-249-98 section 3.3.2.8, for extruded elbows made in
closed presses or induction bends with axial preload, the c12
allowance for sR1
ranges from 0.05s to 0.1s,
while for sR3 it
is zero, and internal bend analysis is omitted. |
Ovalization factor a, % |
Initial ovalization percentage. More... |
Refresh SIF and k using FEA |
|
SIF |
To insert a bend, select the target node and navigate to: Insert > Insert Bend > Induction Bend
To view element properties:
Double-click the element in the 3D view
Select the
element and click the  toolbar icon