
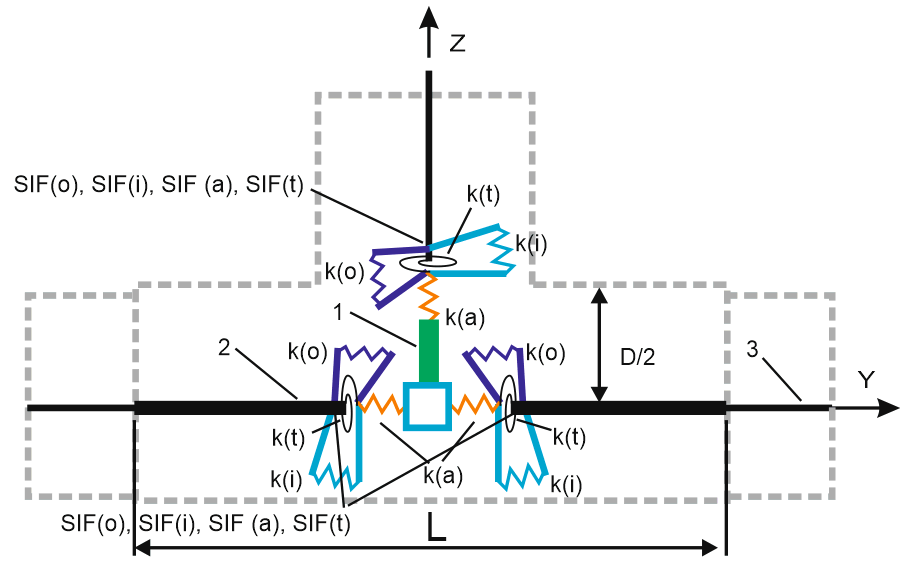
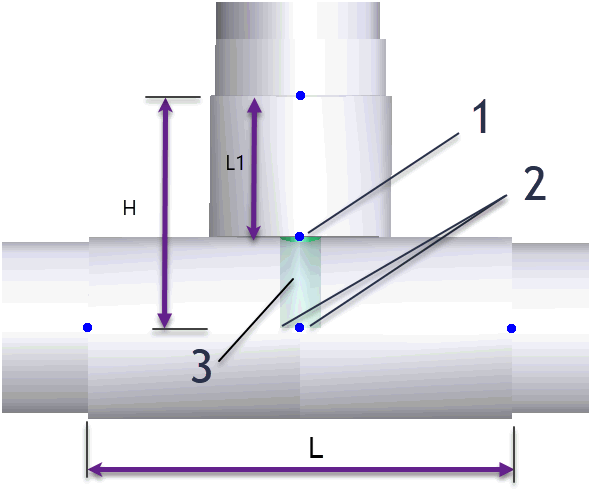
1 - rigid element, 2 - tee header with user-defined wall thickness,
3 - pipe connected to tee header with different wall thickness

Property |
Description |
Name |
Element identifier. When checked, displays in 3D view. |
Get properties from matching pipe |
Import properties from adjacent pipe element. |
Calculate weight automatically |
Automatically calculate tee weight based on torus volume using adjoining pipe wall thickness. |
Material |
Material selection from materials database |
Weight |
Tee weight (including flanges) excluding insulation and fluid content. Enter nominal weight without overload factors. PASS/START-PROF automatically calculates fluid and insulation weights with appropriate overload factors from adjoining pipes. |
Longitudinal Weld Joint Efficiency Factor, E |
Longitudinal weld joint efficiency factor. More information... |
Manufacturing technology |
For ASME B31.1, ASME B31.3, and DL/T 5366-2014, seamless pipe uses Wl=1.0. Electric-welded pipe uses Wl from database. More information... When using GOST 32388-2013, material properties are retrieved from different databases based on pipe type (seamless or welded). |
Header wall thickness, tn |
Header wall thickness used for section modulus (Z) calculations. |
Header and branch SIF |
io - out-plane SIF, ii - in-plane SIF, it - torsion SIF, ia - axial stress intensification factors |
Header and branch flexibility factors |
ko - out-plane, ki - in-plane, kt - torsion, ka - axial flexibility factors. Zero value indicates rigid connection. PASS/START-PROF creates custom expansion joints on branch and header pipes with specified flexibilities:
|
Refresh SIF and k using FEA |
|
SIF |

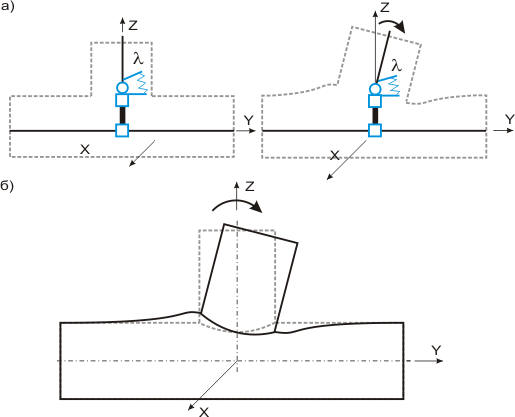
1 - rigid rod
PASS/START-PROF tee object model:
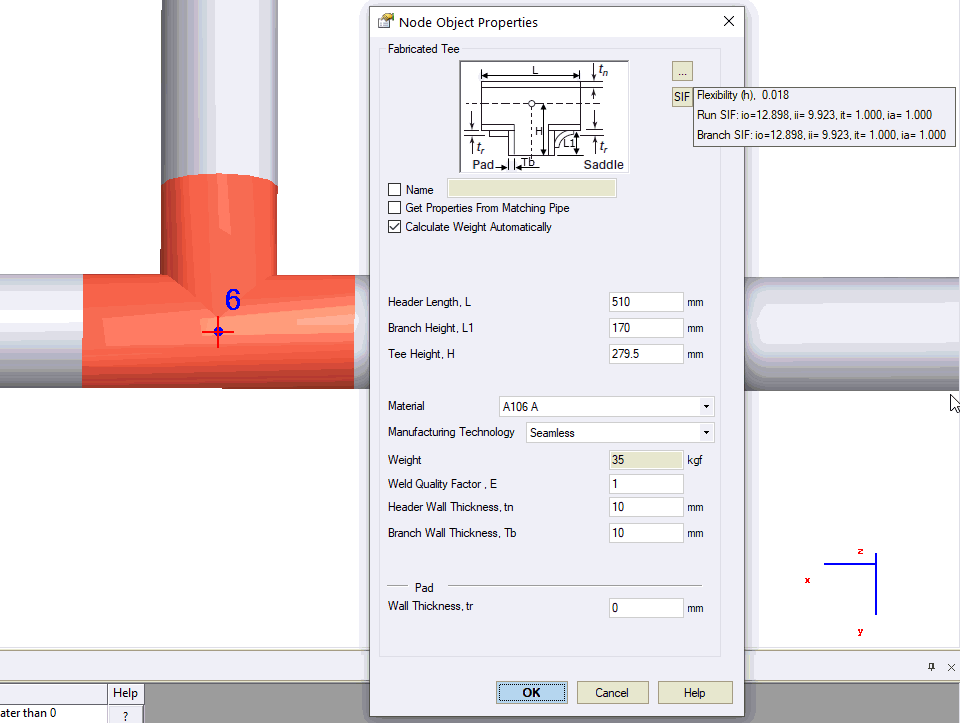
Internal tee model used for analysis. Header and branch pipes have different wall thickness than connected pipes. Flexible springs model header (2) or branch (1) flexibility when using ASME B31J. Rigid element eliminates branch element (3) "dummy" flexibility.
To insert a custom tee, select the desired node and use: Insert > Tee > Custom Tee
To view element properties:
Double-click the element in the 3D view
Select the
element and click the  toolbar icon