
System requirements. Program installation
IA-32 or AMD64/EM64T architecture processor;
RAM 1 GB;
Display with a screen resolution of 1024x768;
Operating system Windows 10 or newer;
Protection dongle driver (only when using a network hardware dongle).
When using a network protection dongle, the TCP and UDP ports must be open in the firewall:
9001, 6001, 6002 - for Hydrosystem version up to and including 4.5
1947, 3185, 3186, 3187 - for Hydrosystem version 4.6 and newer
When installed on computers with installed DLP data leak protection programs (DeviceLock, Zecurion Zlock, Symantec DLP, Trustwave DLP, McAfee Total Protection, Check Point DLP etc.), the correct operation of the Hydrosystem is not guaranteed.
In antiviruses (McAfee, Kaspersky, etc.) and DLP data leak protection programs, you should include the Hydrosystem in the list of programs for which monitoring is disabled, and also allow access to the USB port to work with protection dongle (usb-key can be identified by model and unique serial number). Otherwise, the Hydrosystem may not work correctly due to external interference.
To install the Hydrosystem on the user's computer, it is necessary:
Remove USB dongles from computer ports (if present)
Temporarily disable antivirus and other similar software used on your computer
Check the correctness of the computer's system time (!). If the system time does not match the actual date, don't launch Hydrosystem, as this may lead to blocking the protection dongle!
Run (with administrator rights) the setup.exe file from the program distribution. The distribution is available on the USB drive included in the delivery set, or you can download it from PASS website.
The installation process is similar to installing any other Windows applications; during installation, you just need to follow the installer instructions, specify the user name and organization:

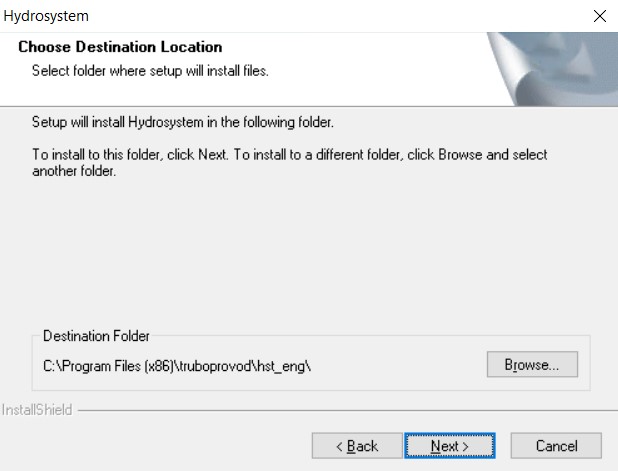
optionally specify the installation directory:
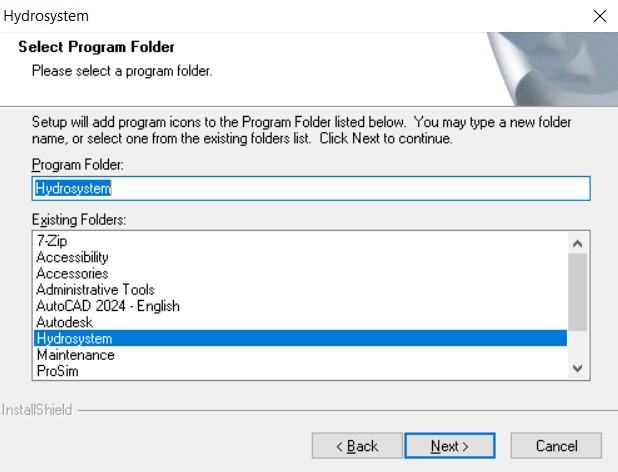
and, optionally, the name of the program folder in the Start menu:
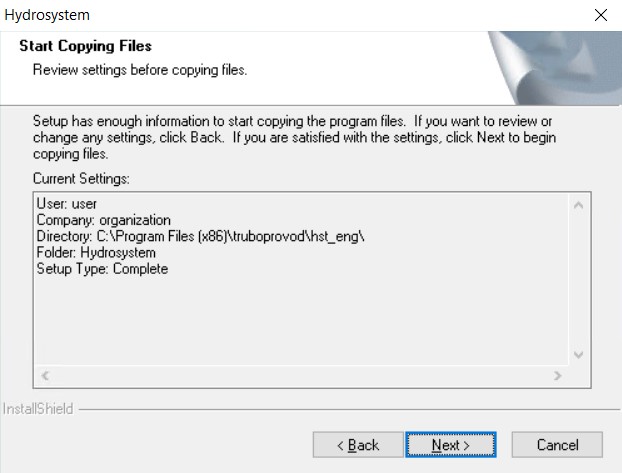
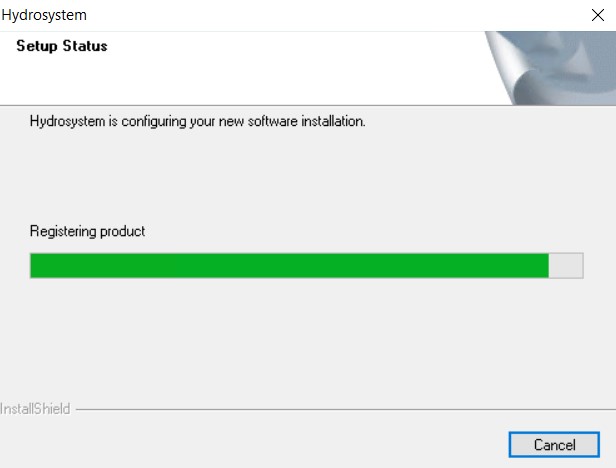
After this, you can start the installation process:
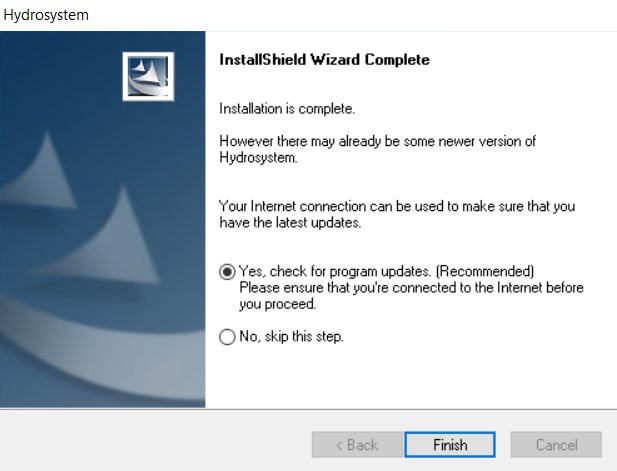
Upon completion of the installation of the Hydrosystem, you will be prompted to enable automatic program updates:
and install Hydrosystem shortcut on your desktop:

After completing the installation of the program, you need to proceed to setting up a license for the program.
As a result of the installation, the necessary program files will be installed in the directory specified during installation; and in addition, the following catalogues will be installed in this directory:
AVEVA directory, containing plug-ins for importing data from AVEVA PDMS, E3D and MARINE to Hydrosystem;
Doc directory, which contains program documentation and the program version history;
Examples directory with test examples of calculations in the Hydrosystem (their detailed description is given in the program documentation);
HstHydroISO directory containing a plugin for exporting isometric drawings from Hydrosystem to AutoCAD ;
Keyst directory containing the dongle update program and dongle drivers.
In addition, some of the program files used with other PASS software (insulation and piping wall materials databases, soils, etc.) are installed in the directory C:\Program Files (x86)\Common Files\truboprovod.
Also, when installing (and first starting) the Hydrosystem, the corresponding keys are created in the Windows registry, in which the program settings are recorded and stored:
HKEY_CURRENT_USER\SOFTWARE\Pipelines System\Hydrosystem
HKEY_LOCAL_MACHINE\SOFTWARE\WOW6432Node\Pipelines System\Hydrosystem (or HKEY_LOCAL_MACHINE\SOFTWARE\Pipelines System\Hydrosystem depending on the bit depth of the operating system)
HKEY_USERS\.DEFAULT\Software\Pipelines System\Hydrosystem
Therefore, for full functionality of the program (with the ability to change and save settings), it is recommended to configure user rights in such a way that there is the ability to read and write to the above keys and all their sub-keys.
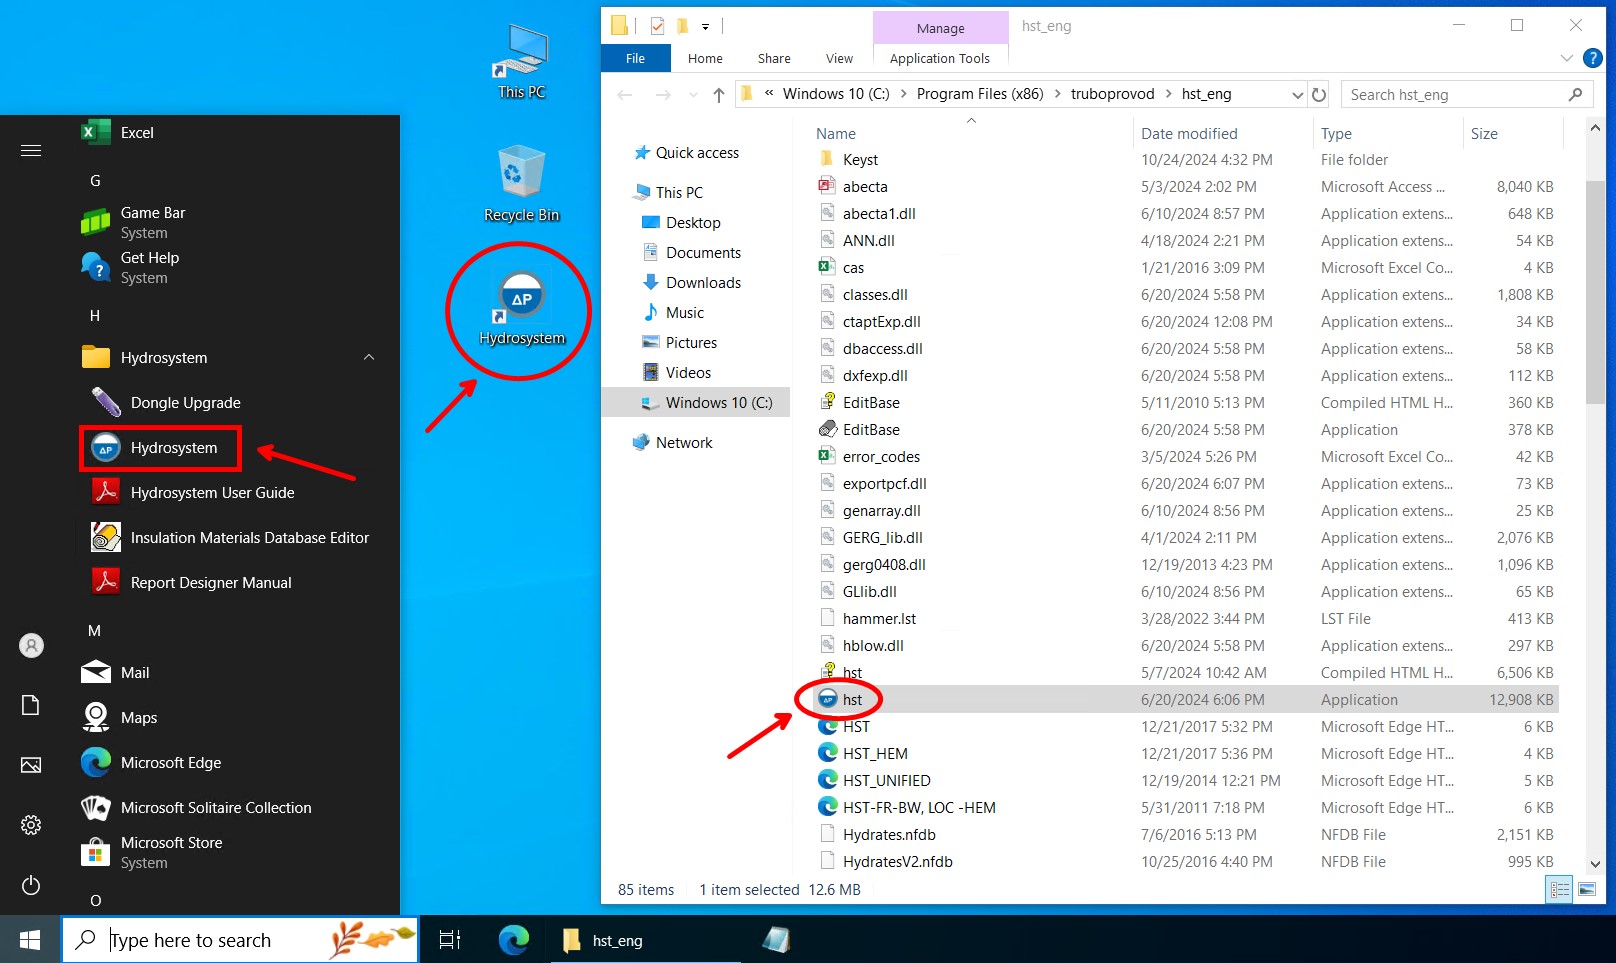
You can launch the Hydrosystem using the program icon in the Start menu, the shortcut on the desktop, or by directly launching the hst.exe file from the installation directory:
Microsoft Windows Server 2003 and Microsoft Windows Server 2008 have a number of Active Directory catalog services that include Group Policy. Software Installation service included in Group Policy allows to remotely install software to several workstations simultaneously.
There are 3 main installation scenarios implemented in Active Directory:
Publish to User,
Assign to User,
Assign to Computer.
The Hydrosystem program can be installed using the Assign to Computer scenario.
Please note that:
- Installation of Hydrosystem to a workstation is completed only after the workstation is rebooted.
- Installation of Hydrosystem using Publish to User and Assign to User scenario is not supported.
To start installing Hydrosystem to a group of computers one has to create the administrative installation. This may be done using the ORCA MSI Editor which transforms hydrosystem.msi into hydrosystem.mst storing all the changes made by Administrator. We recommend to change the following .msi properties before mst-file is created:
Table |
Property |
Description |
Directory |
INSTALLDIR |
A name of folder to copy the package files. Default value is "Program Files\truboprovod\hst" |
Directory |
newfolder1 |
Name of folder in “All Programs “ start menu section. Default value is "Hydrosystem" |
In order to correctly process scripts during installation, the ISScript.msi should be preliminarily deployed. After the installation is complete, the dongle drivers should be installed to ensure proper interaction between local computers and network dongle.