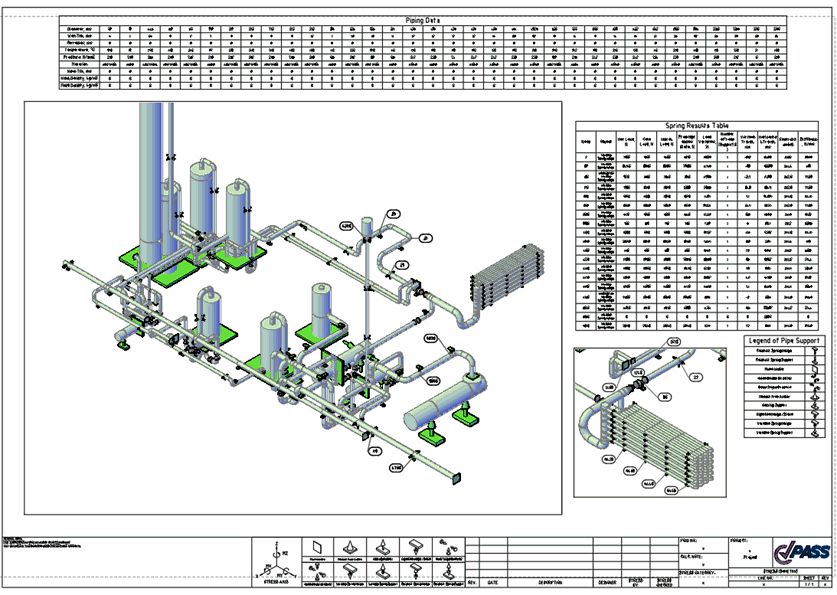
StressISO 3D AutoCAD integration features:
Export solid attributive model to .dwg format
Automatic or manual dimensioning and tagging
Automatic generation of stress analysis results tables
Customizable layer properties and attribute export settings

Navigate to C:\Program Files (x86)\CTAPTPR\Converters\StressISO3D and copy the "StartStressISO" folder to C:\Users\*User*\Documents.
Open the AutoCAD configuration file as administrator:
C:\Program Files\Autodesk\AutoCAD 2020\Support\en-us\acad2020doc.lsp


Complete stress analysis before exporting to StressISO 3D. The export function requires analysis results.
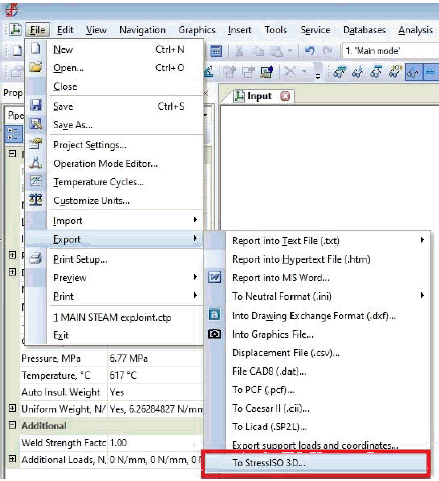
Requires AutoCAD 2020 or later. Select "Export > To StressISO 3D..." from the menu. AutoCAD launches automatically. Expect brief window flickering during export. Processing time varies with model complexity.
Successful export displays the model in AutoCAD and shows "File created successfully" confirmation in PASS/START-PROF.
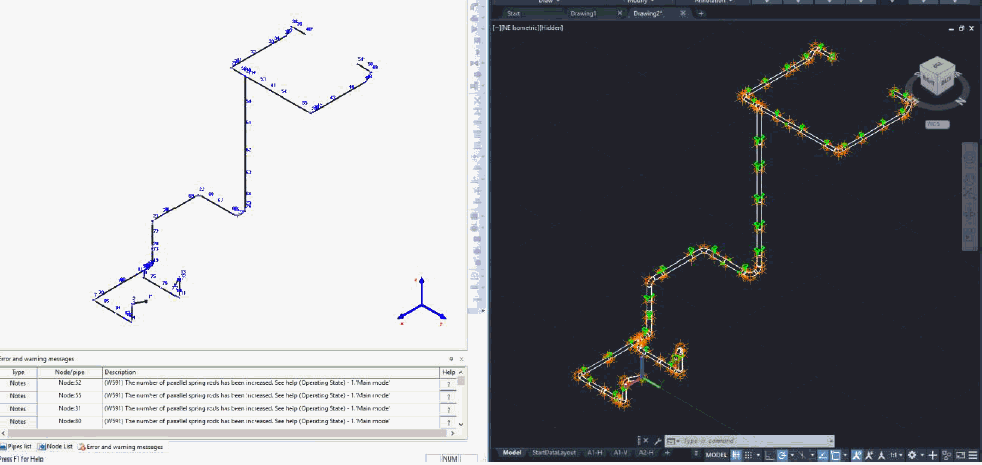
Piping components export as block references with attributes. Create viewports on layouts and apply annotations as needed.
Note: The StatrtDataLayout contains system data and should not be modified.
Create viewports in paper space to display specific model areas. Use the "Annotate Start-Prof viewport" function to automatically tag components according to annotation settings:
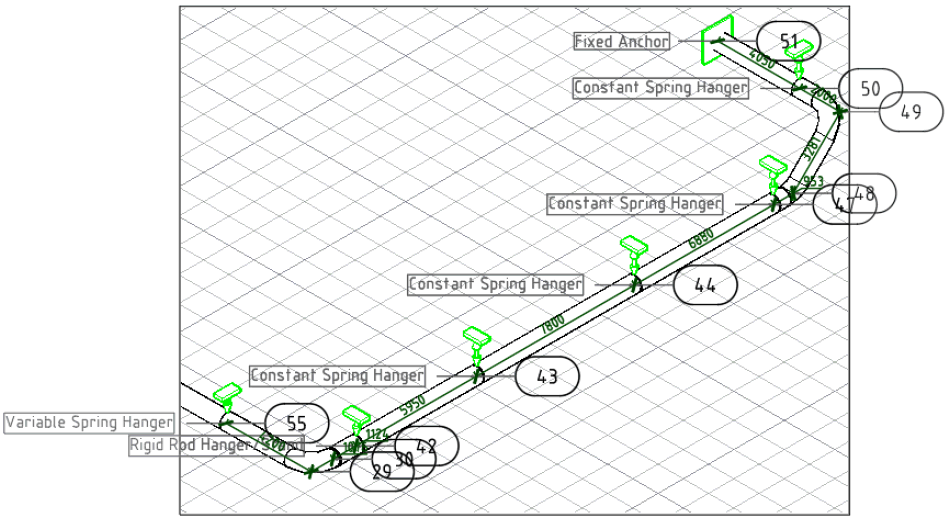
Reposition tags for optimal readability. For selective annotation, use "Single node tag" or "Single restraint tag" for manual viewport annotation.
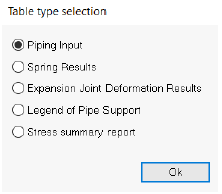
The "Paste table" function inserts stress analysis result tables into your drawing:
File > Export > To StressISO 3D