Interface setup
If necessary, the program interface can be customized for more comfortable use.
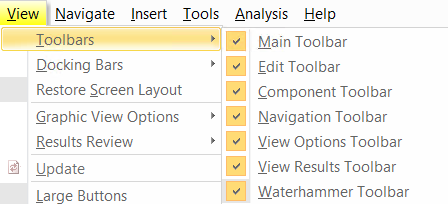
Any windows and toolbars of the program can be enabled/disabled (except for the graphics window - it is always displayed). To enable/disable the display of toolbars, use the corresponding menu items "View - Toolbars":
To enlarge the toolbars, use the menu command "View - Large Buttons".
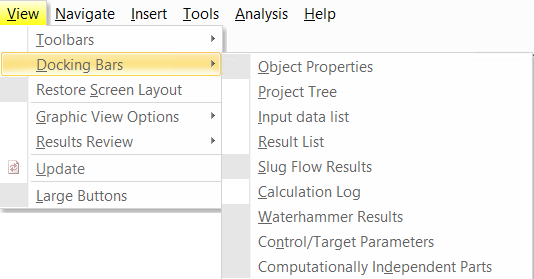
To close any window, use the traditional "cross" button in the upper right corner of the window. To return a closed window, expand the "View - Docking Bars" menu and select the closed window from the list:
In
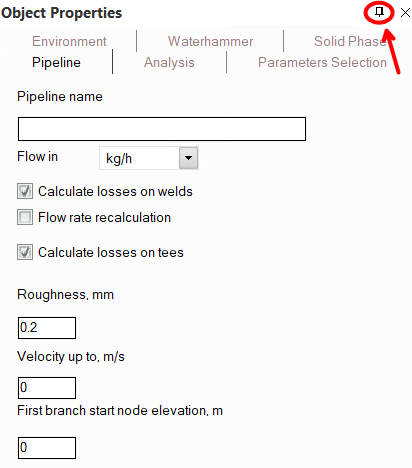
addition, you can auto hide windows (so that it is visible when you hover
over it with the cursor) by clicking the button  in the upper right corner:
In this mode, instead of a window, its "tab" will appear in the corresponding area of the program frame:
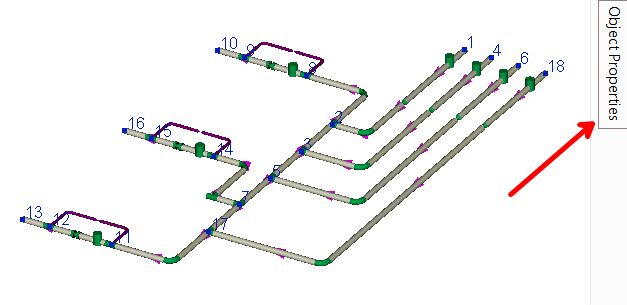
When you hover over this tab, the
window will appear, "covering" a fragment of the neighboring
window, and after moving to another area of the interface, it will hide
again. To disable this window presentation mode, click the button  in the upper right corner of this
window again.
in the upper right corner of this
window again.
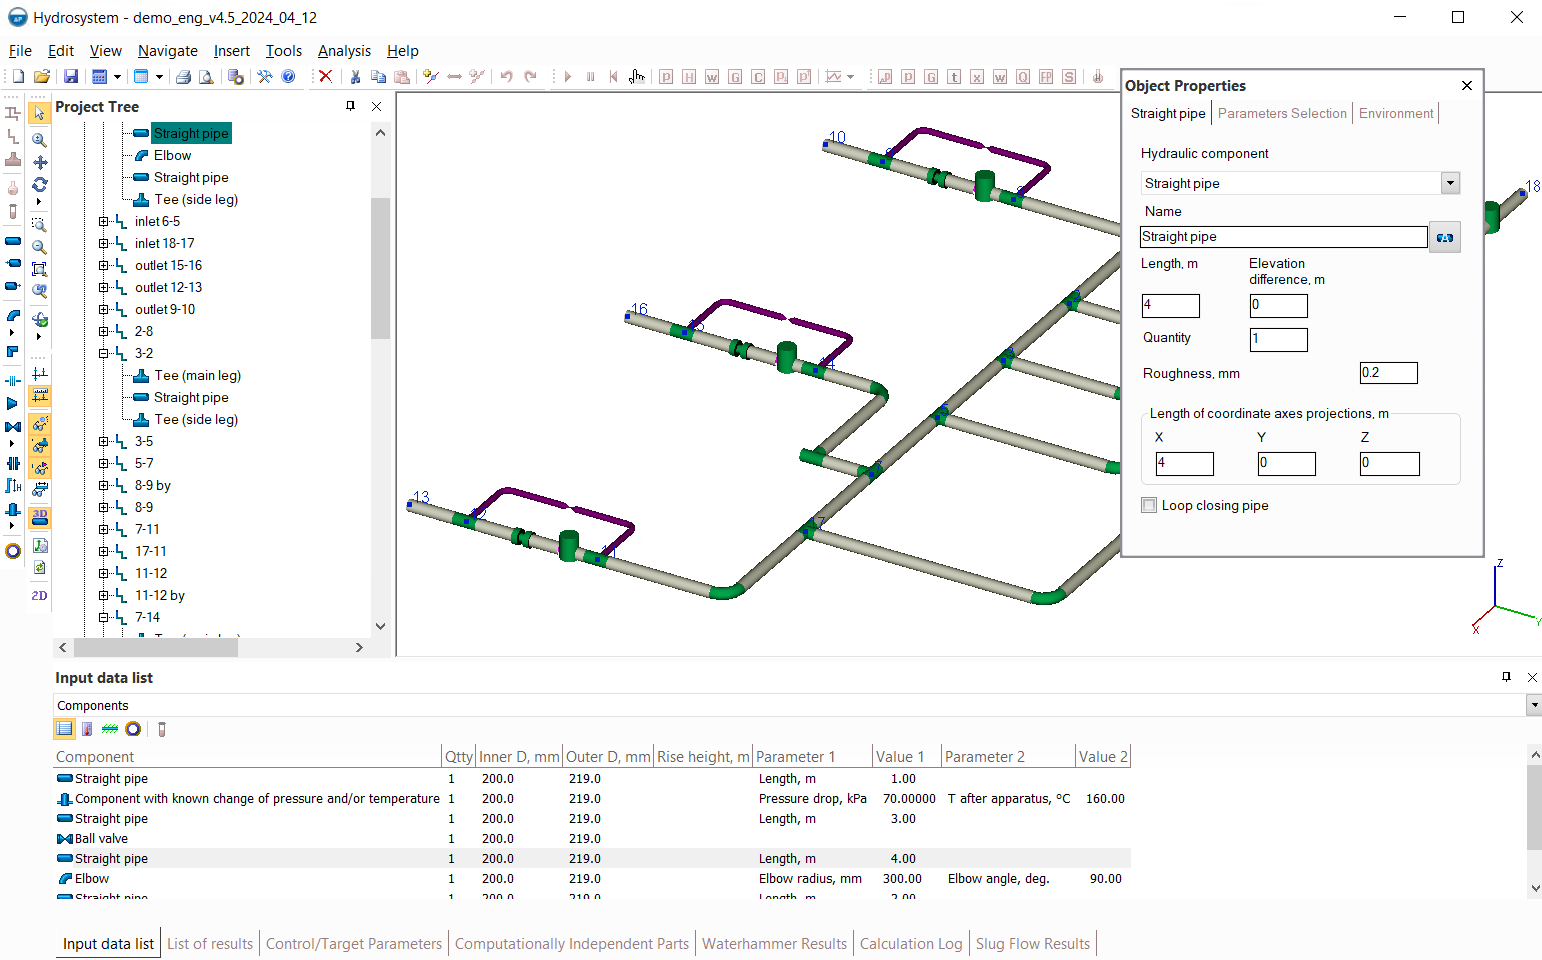
The program toolbars and windows
can be moved and placed in areas convenient for you. To move the toolbar,
point the cursor at the "four dots"  on the left side of the toolbar (or the top - depending on its orientation)
and, pressing and holding the left mouse button, move the toolbar to any
position. In a similar way, you can move any program window (except for
the graphics window), "grabbing" the window header with the
left mouse button and dragging it. The window can be moved to any area
of the screen, including outside the Hydrosystem dialog box. In some cases,
this can be convenient - for example, if you work with two or more monitors,
then you can move all the data windows (the properties window, list windows,
etc.) to one of the screens, and leave the graphics window on the other
in full screen size, etc. However, in other cases, this may not be very
convenient, since the window moved in this way will overlap other windows
and elements of the program interface:
on the left side of the toolbar (or the top - depending on its orientation)
and, pressing and holding the left mouse button, move the toolbar to any
position. In a similar way, you can move any program window (except for
the graphics window), "grabbing" the window header with the
left mouse button and dragging it. The window can be moved to any area
of the screen, including outside the Hydrosystem dialog box. In some cases,
this can be convenient - for example, if you work with two or more monitors,
then you can move all the data windows (the properties window, list windows,
etc.) to one of the screens, and leave the graphics window on the other
in full screen size, etc. However, in other cases, this may not be very
convenient, since the window moved in this way will overlap other windows
and elements of the program interface:
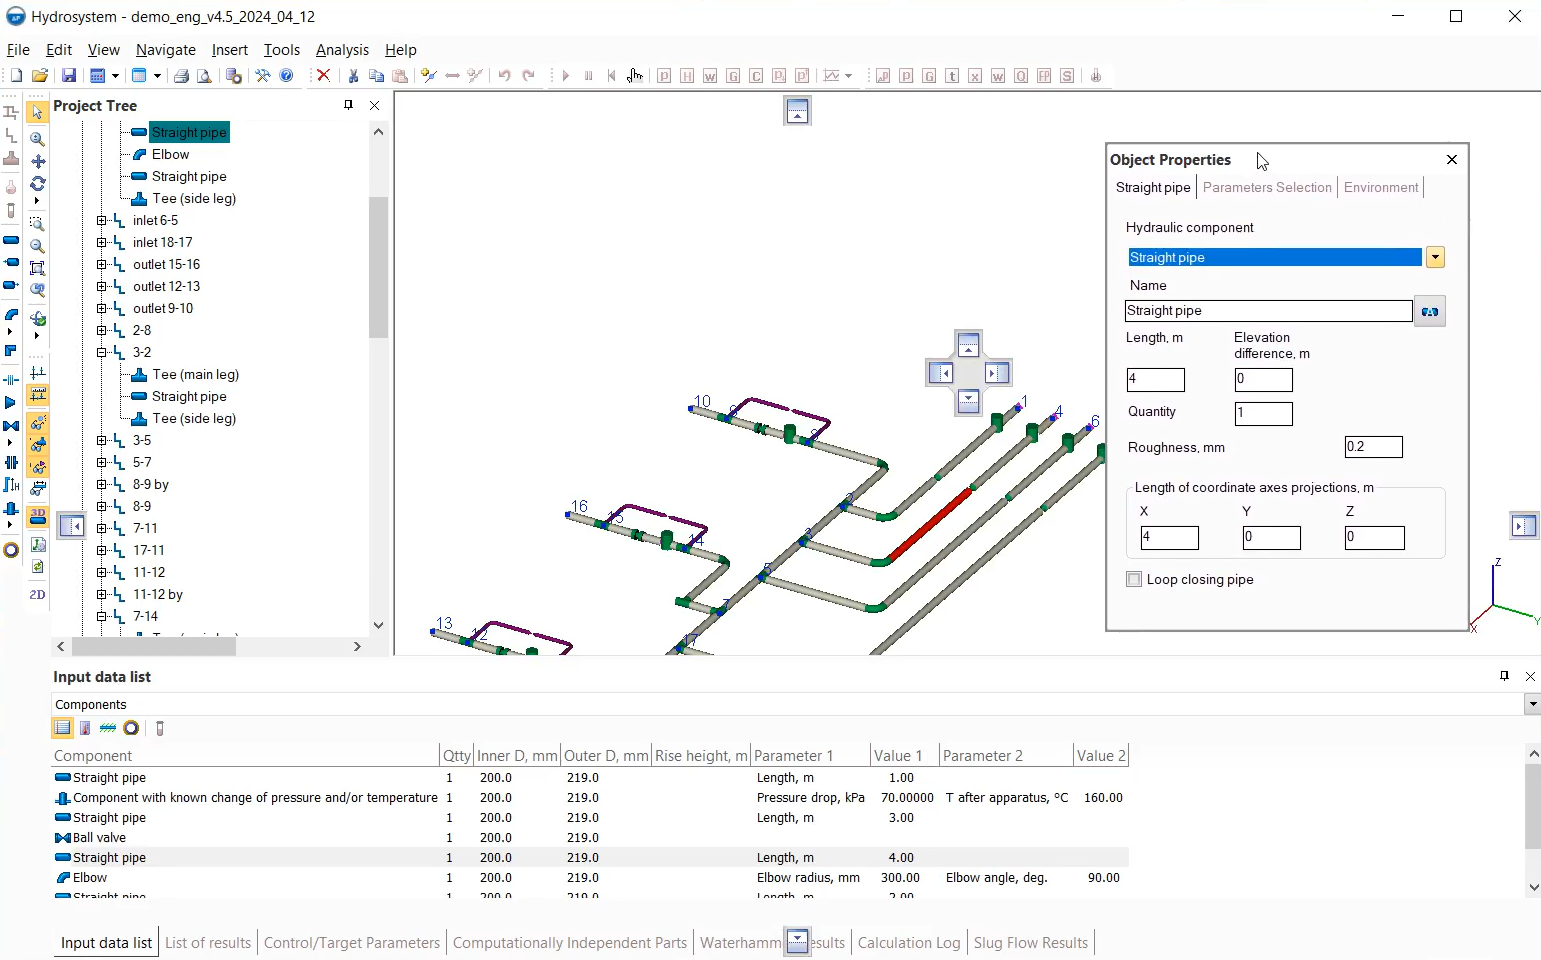
Therefore, to prevent such a window from getting in the way, it is more convenient to "pin" it. To pin a window, left-click on the window header and, while holding it down, move the cursor to one of the arrows that appears on the screen (depending on the area in which you want to pin the window):
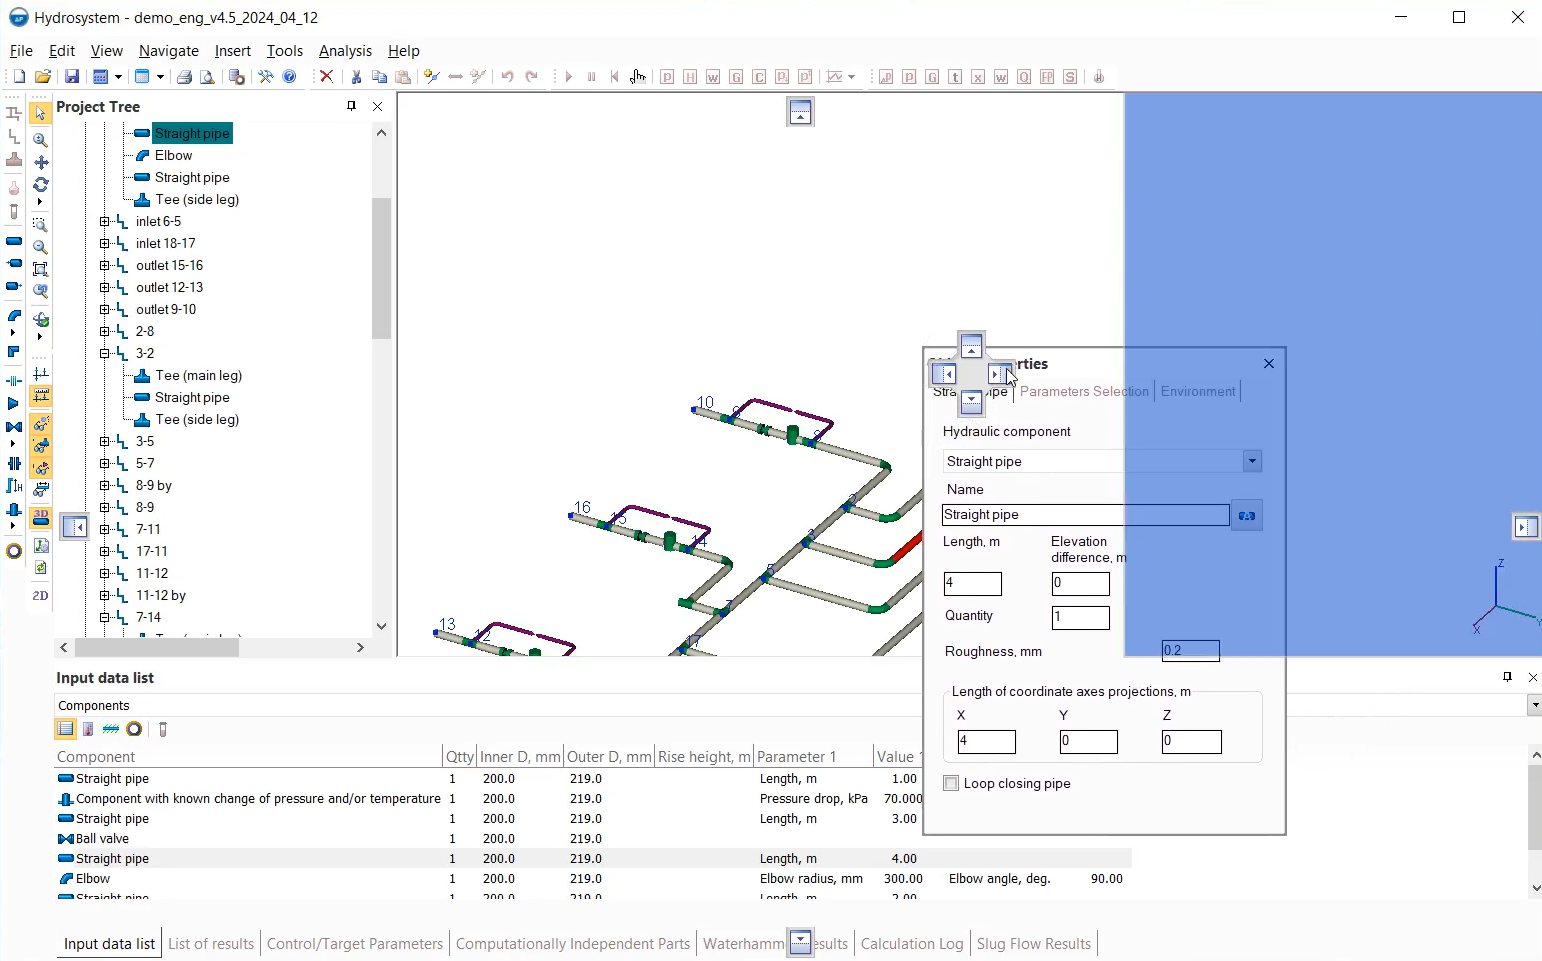
In this case, a blue area on the screen will show where this window will be pinned:
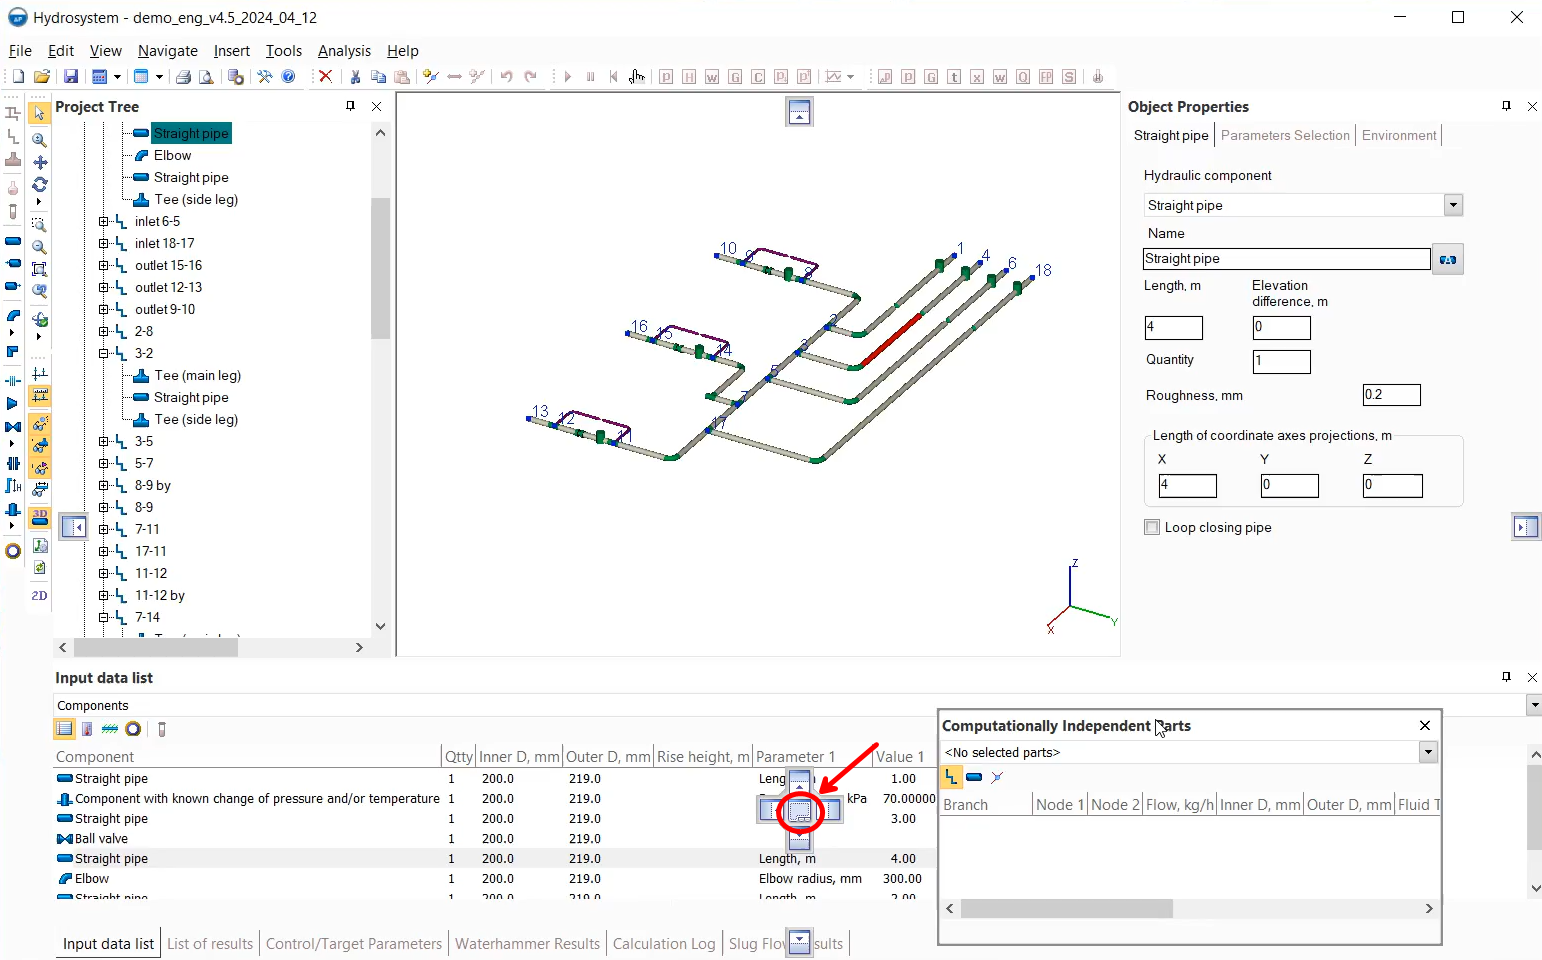
Please note that the windows at the bottom of the program interface (the input data list, the list of results, etc.) are in one common "container". To "pull" one of these windows out of this container, you need to click on the name of the tab with this window (at the bottom), and by pressing and holding the left mouse button, drag this window. To return the window to the container (or to place another window in this container), select its header and by pressing and holding the left mouse button, drag the window to the bottom of the screen so that the cursor is inside the container with windows. In this case, in addition to the arrows, an icon of the container will appear, to which you will need to drag the window being moved (so that the mouse cursor exactly gets into the container icon):
After you release the left mouse button, the window will be placed in the container as a separate tab. To swap the tabs in the lower window, click on the name of the tab with this window, and while pressing and holding the left mouse button, move it horizontally to the left or right.
After exiting the program, the new window and toolbars arrangement settings will be saved. To restore the original position of all toolbars and windows, select the menu option "View - Restore Screen Layout" and restart the program.